I. Lacing
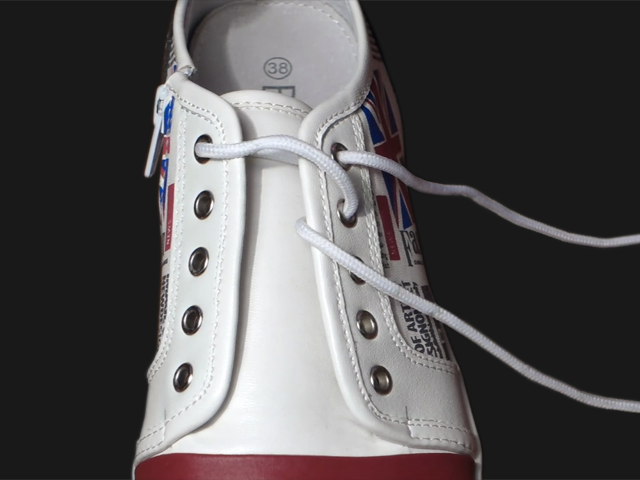
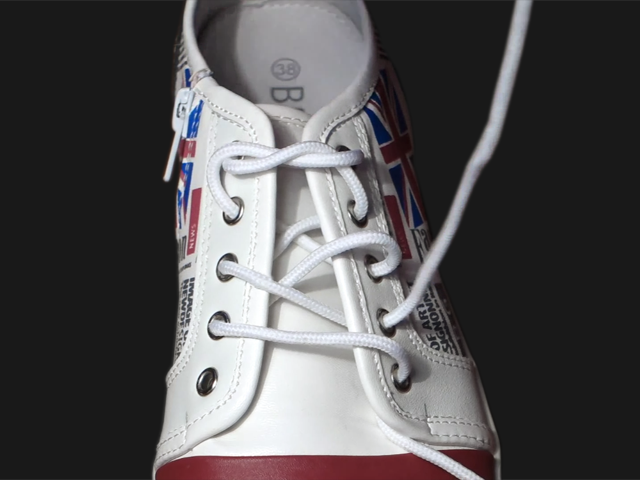
1. The Ukrainian Lacing starts from the top pair of eylets. IMPORTANT: use same technique on the both shoes (NO mirroring).
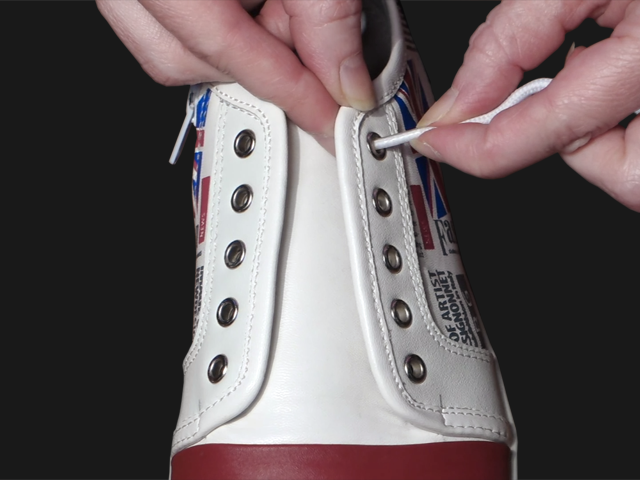
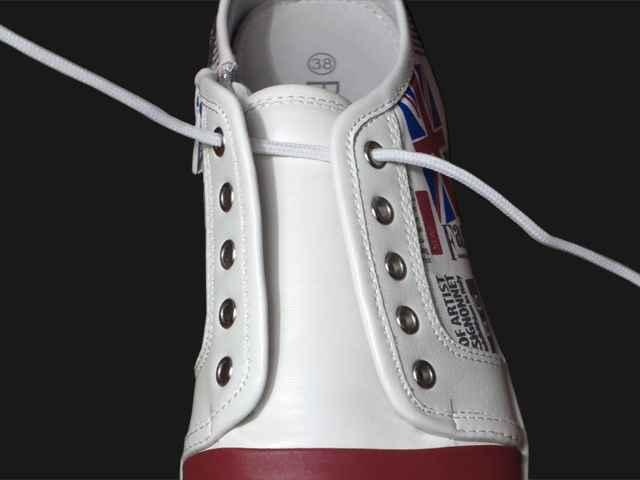
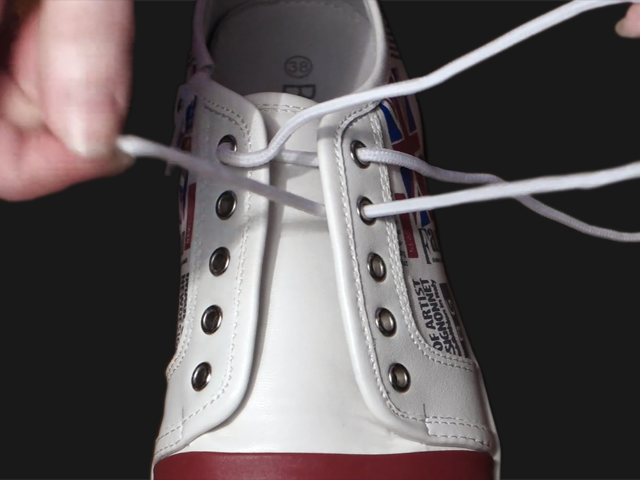
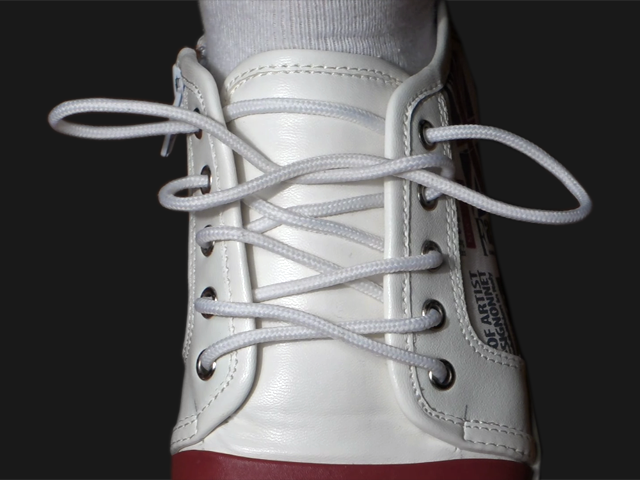
2. Go from the top right (as seen from above when a shoe is on your foot) eyelet to the next opposite one as shown.
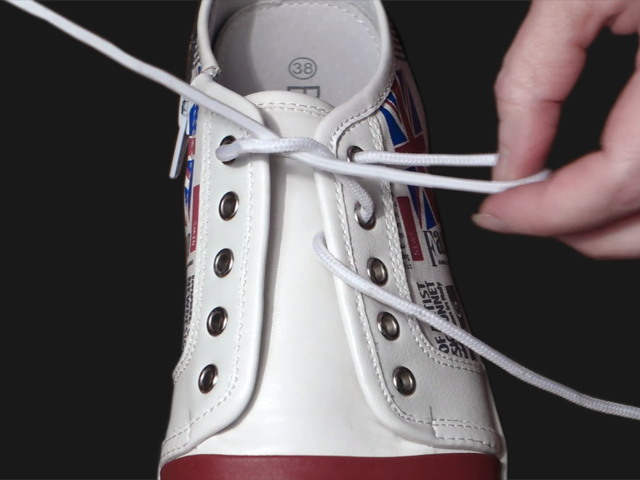
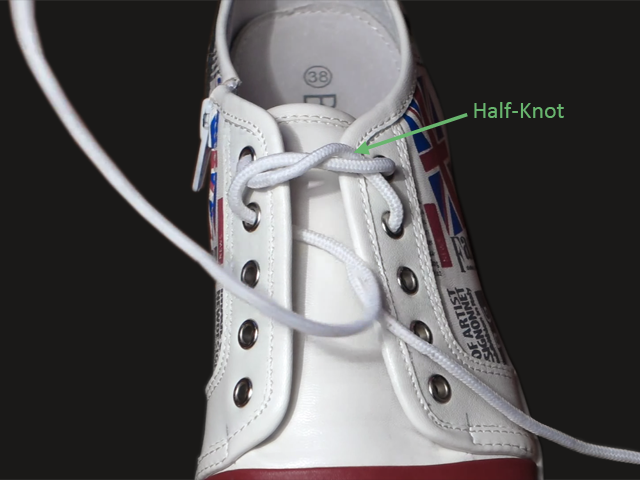
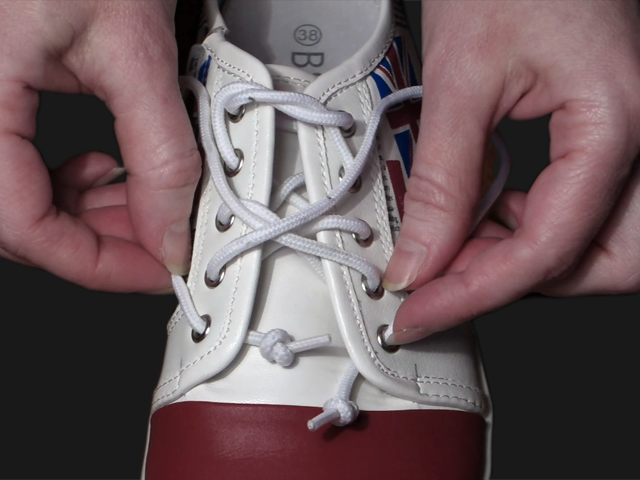
3. Turn the left end of the lace around another one from ABOVE and pass it through the next opposit eyelet forming a half-knot.
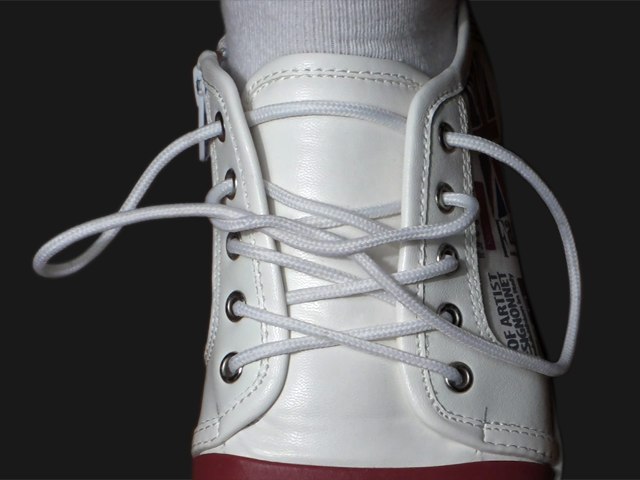
4. Lace to the end using whatever style you’d like (we prefer criss-cross style) and make small knots on the lace’s ends.
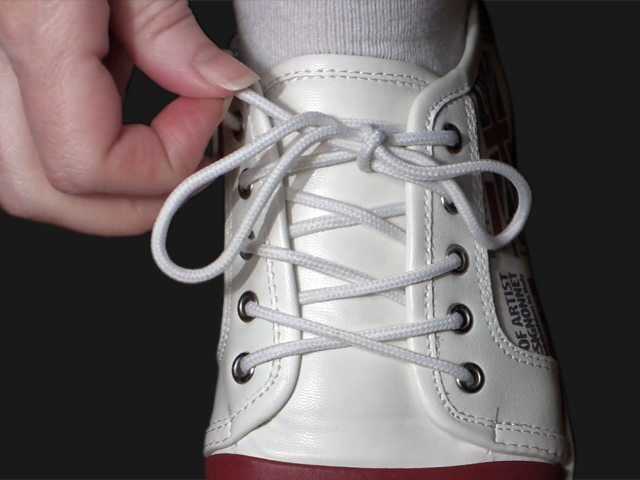
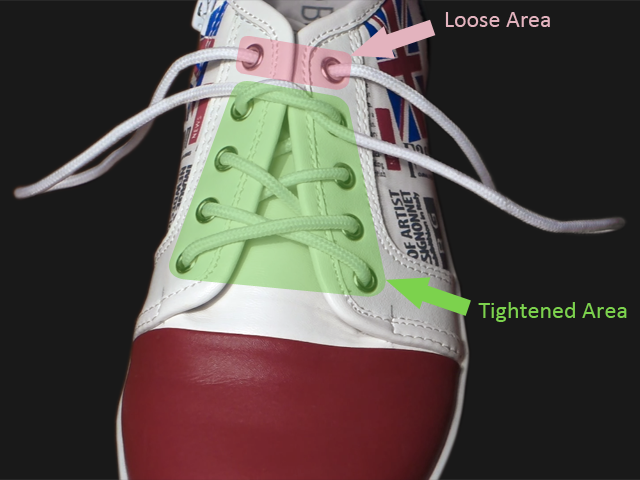
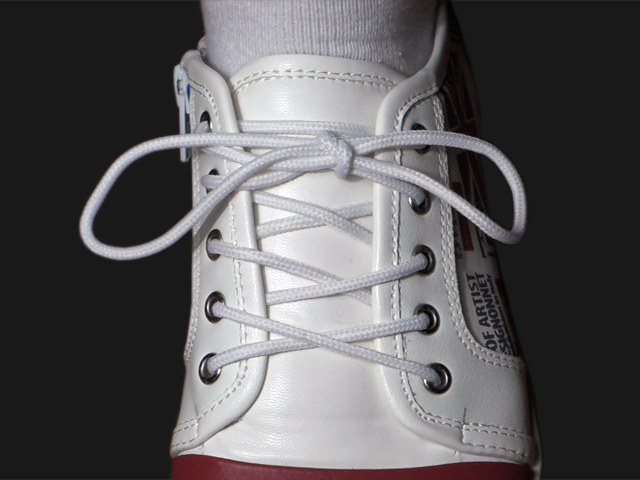
5. Arrange the lacing as shown. Now the sneaker is laced with Ukrainian Lacing. Note, the lacing has tightened (green, most of the lacing) and loose (rose, top pair of eyelets) areas.
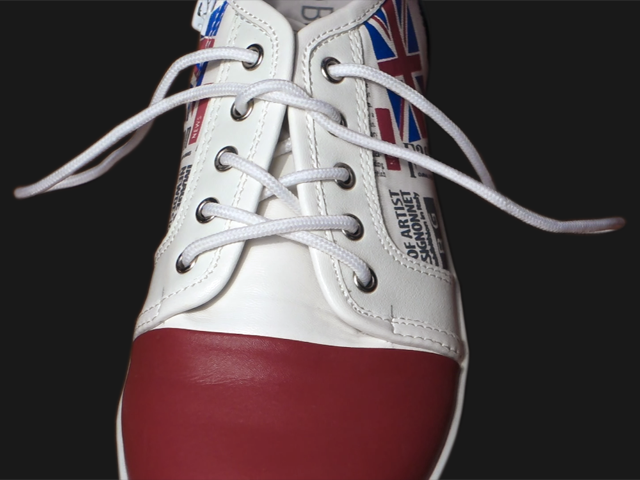
Now the Ukrainian Lacing is ready for use!
II. Doing the Knot
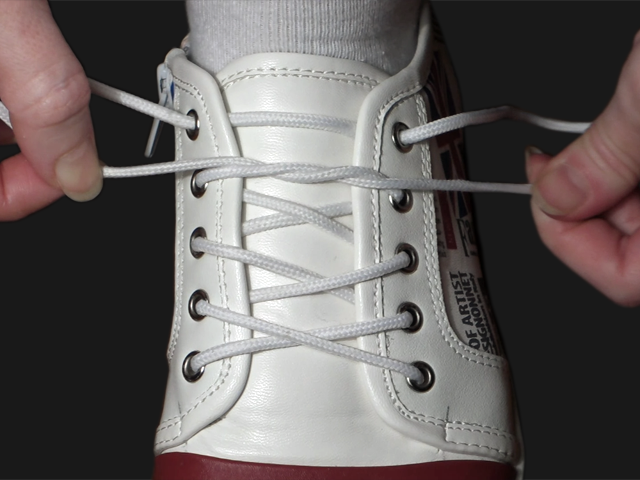
1. Tighten the lacing before doing a knot (note, that the knot is located in the second pair of eyelets, not the first one!)…
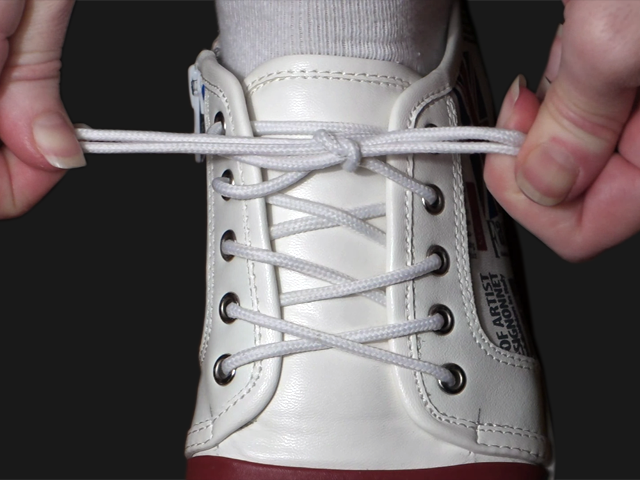
2. Do the knot as usually. In this case it’s a standard shoe knot, though it can be any of many other types (we highly recommend the great Ian Knot). It looks nice, doesn’t it? Note: No tails at all.

3. To undo the knot pull any of the “loose” segments of the lace. Bonus: now you can comfortably wear your sneakers with undone knot.